 |
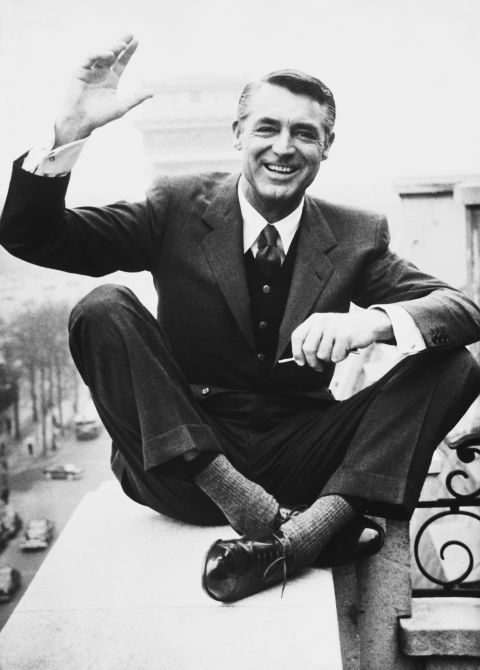
| Cary Grant, showing how it's done |
I remember being fitted for my first suit when I was 18 years old. I buttoned both buttons on the jacket. The tailor mumbled something along the lines of, "Two button suit, top button only. Otherwise, you'll look like a hillbilly." It doesn't matter how much a suit costs. If it's not tailored well, it's not going to look good. Even if it is well tailored, there are plenty of other things to mess up. Fortunately, I had an older sister who looked out for me, so I was rarely a total mess at the school dance.
A well tied fly is like a suit with the perfect fit and just the right touches. A well tied fly is proportionally balanced to the hook on which it is tied. The components of a fly should work together in perfect harmony, just like the combination of suit material, dress shirt, and tie. Little touches are nice, such as a pocket square, cufflinks, jungle cock cheeks, etc. As far as men's attire goes, the fit and finish is in the shoes. They should be well made, compliment the outfit and, most of all, be as shiny as they were when they were new. The head of a fly is the dress shoes of the outfit. A head should be sized in proportion with the rest of the fly. It should be durable and well shaped. Lastly, it looks better when it shines.
One of my favorite angling books is Fishing Atlantic Salmon by Joseph Bates and Pamela Bates Richards (Stackpole 1996). Michael Radencich's photography is superb. There is a staggering amount of information to digest in that book, in both text and images. The first time I read it cover to cover made me feel like I was drunk at a wine tasting. Subsequent reads allowed me to see the subtleties I missed the first time around. One of those subtleties was the way certain tyers finished the heads of their flies. To me, the most intriguing heads were on Keith Fulsher's flies. They were just the right size and their finishes were striking. They were glossy and bright, like patent leather. The heads looked like they virtually melted right into the eye of the hook.
At the time, I didn't know Keith, so I was unable to ask him about his methods. I decided to figure it out on my own. After a bit of trial and error, I settled on a method that provides me with similar results. Since then, I have become aquatinted with Keith. Because I found my own solution, I haven't bothered to ask him how he does it.
I don't finish every single fly I tie with a mirror-like head. In fact, most of my flies are not finished with this level of detail. I don't polish my dress shoes every time I wear them, either. When I want a fly to really sparkle, however, I have a process that is the fly tying equivalent of professional shoe shine.
 |
| A clean, nicely shaped head is the punctation at the end of a sentence. |
Glossy Heads: Step-By-Step
(click images to enlarge)
 |
| Fig I: Staggering the cuts to make a tapered head |
The first step to getting a glassy, mirror-like head is the most crucial. A thread head should be well shaped and relatively smooth. Because we tie a head over uneven surfaces (such as hair and/or feathers), it won't be as smooth as underbody thread wraps.
The key to a good thread head is proper planning. For a head with a long taper, cut your winging materials with a long taper. Look at the Magog Smelt in Fig. I. The red throat hackle and the white layer of bucktail extend out the farthest. The second layer of bucktail (yellow), extends to about the midpoint of the head. The final layer of bucktail (purple), along with the peacock herl topping, is cut relatively short, to the 1/3 point of the head. The cuts form a natural taper. A smooth thread head can be formed by tying over the staggered wing butts. For a more blunt, round head, simply cut the butts at a less of an angle.
 |
| Fig. II: A neat thread head |
The procedure for feather wing flies is not much different. If the wing is tied in multiple stages (e.g. flies with an underwing or a built wing), leave the bottom materials long and cut the butt ends of subsequent winging materials progressively shorter. When tying a fly with a mixed or married wing, I either use a razor or fine scissors to trim the wing butts. With the former, I make an angled stroke through the butts. With the latter, I shimmy the tips of my scissors through the wing butts to cut the butts a couple feathers at a time.
However you choose to cut your wing butts and taper your head, the final result should look fairly neat without any lacquer (see Fig. II). Thick lacquer can fill in small spaces, but not big gaps or lumps of thread. Take your time and plan ahead.
 |
| Fig. III: Cellire (thin) first coat |
The first coat of lacquer or head cement should be thin. You want the first coat to penetrate the thread wraps and add strength to the fly's head. I prefer to use Veniard's Cellire, but any thin head cement should work well enough. If your head cement is getting thick, make sure you thin it enough for it to penetrate the thread wraps easily. Look at Fig. III. The head has one coat of Cellire. See how the micro bumps are still visible? They will disappear in later steps.
 |
| Fig. IV: Black (thick) second coat |
For a presentation quality head, it is helpful to boost the thread color. For a black head, my second coat is black nail polish (Sally Hansen's). It is a darker shade of black than black thread. If wax was used to help the thread adhere to itself, black lacquer will help remove the color inconsistencies. Black lacquer gives a fly a much deeper color and boosts the glassy effect in the finished head. A similar effect can be achieved with other lacquer colors (i.e. red, yellow, etc.).
Be extremely careful when applying any lacquer, particularly colored lacquer. One slip of the fingers and your beautiful wing can be ruined. The safest way to apply lacquer is in small amounts and with a fine needle or bodkin. Sometimes I use an applicator brush that has been cut to a fraction of its original width. It's much easier to make a mistake with the brush than with the needle, so proceed with caution. Fig. IV shows the head with one fully dried coat of black lacquer.
 |
| Fig. V: Clear (thick) third coat This is my preferred stopping point. |
After the black lacquer dries, I add a top coat of clear lacquer (as shown in Fig. IV). I prefer a thick lacquer, as opposed to the thinner Cellire used in the first step. My favorite clear lacquer is Sally Hansen's Advanced. I've found it to make a slightly glassier head than the standard Sally Hansen's clear nail polish. Even though it's thicker than head cement, make sure your thick clear lacquer maintains its original consistency. From time to time, you might have to add a few drops of nail polish remover to prevent it from getting too viscous.
Notice how the small thread dips in Figs. II and III have been completely concealed by the thicker lacquers. If this head started out messier, more coats of lacquer might have been necessary to fill in the spaces. With every coat of lacquer, we run the risk of messing up the fly. Also, the head will get bulkier with each coat of lacquer. The shape can distort if too many coats of lacquer are used. Less is more. If the head of the fly is clean to begin with, three total coats should be enough (one each of thin/clear, thick/colored, thick/clear).
 |
| Fig. VI: Two coats of Cellire (thin) |
For contrast, look at the head of the fly pictured in Fig. VI. This head was finished with two coats of Cellire only. Notice the how the small thread bumps are still present. They wouldn't be nearly as noticeable if the fly wasn't magnified by the camera lens. Also, it doesn't have that deep black glossy look. I't's not a bad looking head, but it lacks the fit and finish of the head shown in Fig. IV. On most of my fishing flies, I omit the colored lacquer step and use either two coats of Cellire or one coat of Cellire and one coat of clear Sally Hansen's Advanced.
Good luck and feel free to ask any questions you might have!


Great and helpful post, Ben!
ReplyDeleteThanks, Gary!
Delete